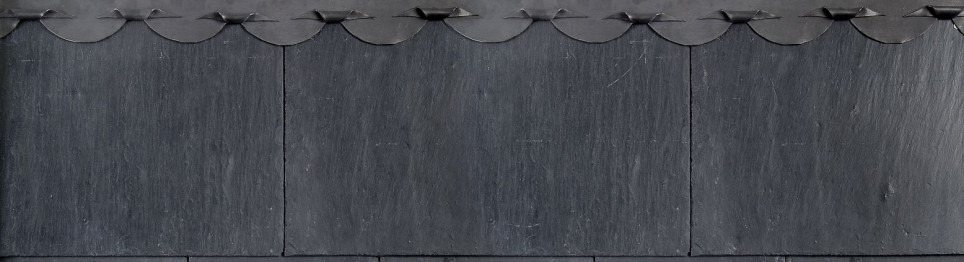
Mathematical tiling 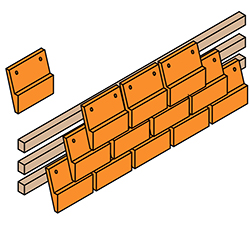
Fix 38 x 25mm tiling battens to specified gauge for the design of the product and secure to groundwork with recommended fixings. Lay tiles in broken bond fashion and twice nail each tile. Joints may be left dry or can be bedded and pointed in accordance with manufacturers’ instructions.
![]()
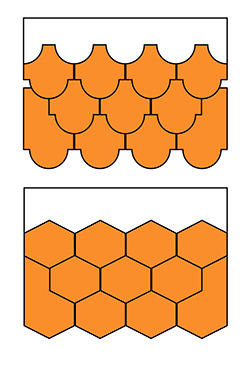
Decorative flashings
Where a top course tile is used the minimum coverage of the flashing is 100mm. If no top tile is used coverage should be extended to 150mm. The decorative section of flashing should be added onto the coverage such that it does not compromise the lap relative to the vertical joint and the nail holes.

![]()
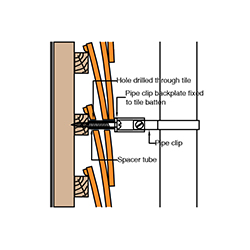
Pipe Fixing Details
There are a limited number of acessories that can be fixed through vertical tiling but the examples given in the attached drawings illustrate the possible fixing methods.
![]()
Pipe Fixing Through Vertical Tiling: V1
Drill hole through tile to suit tube diameter (for example 15mm copper tube). Insert spacer tube through tile and fix pipe clip back plate to tile batten with suitable screw.
Secure rainwater pipe clip to bracket.
![]()
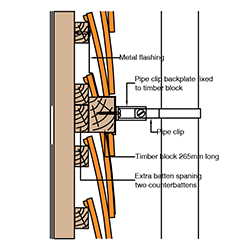
Pipe fixing through vertical tiling: V2
Provide suitable 265mm␣ wide timber block fixed on top of an extra tiling batten spanning at least two counterbattens or supports prior to tiling. Form Code 4 lead flashing to fixing block through hole cut in tiling.
Fix pipe clip back plate to timber block with suitable screw. Secure rainwater pipe clip to bracket.